autonotes
Automation tool to autocapture screenshots and join them with a supplied .srt or .txt file and output a notes file in markdown.
Problem?
Watching classes / presentations online and taking notes at the same time can be hard sometimes. If they are pre-recorded you can spend a lot of time pausing and unpausing the video. So I wanted to automate the process of taking notes for later reference so I could also just focus on paying uninterrupted attention to the class/presentation.
Solution
Tool that takes sceenshots from the classes / presentations (ideally in the right time) and joins them together with a later supplied .srt (or txt but not supported yet) file. This .srt file can be generated with a number of tools, I'm using otter.ai for converting Speech-to-Text. If you're using this with youtube videos, and the video already has subtitles, you can get that file instead of converting speech to text.
Note: This is a WIP, right now you I recommend using otter.ai to generate an .srt file from the talk you are listening to and then feed it to this script. You should start recording with otter.ai and autonotes at the same time.
Example
Inside both input and output folders you can find a real use case scenario with the name example-what-is-linux that was generated from the video: https://www.youtube.com/watch?v=YA-3NI_Lfns In this scenario, I did the following steps:
- I had a mobile on the desk with otter.ai open.
- Started
autonoteswith the command:mage screen:capture 5 0 5000 jpeg example-what-is-linux(it has a start delay of 5s) - Started both the video on youtube and otter.ai recording at the same time as the
autonotesstart delay was ending. - Exported the .srt file from otter.ai and put it on the
inputfolder with the nameexample-what-is-linux.srt
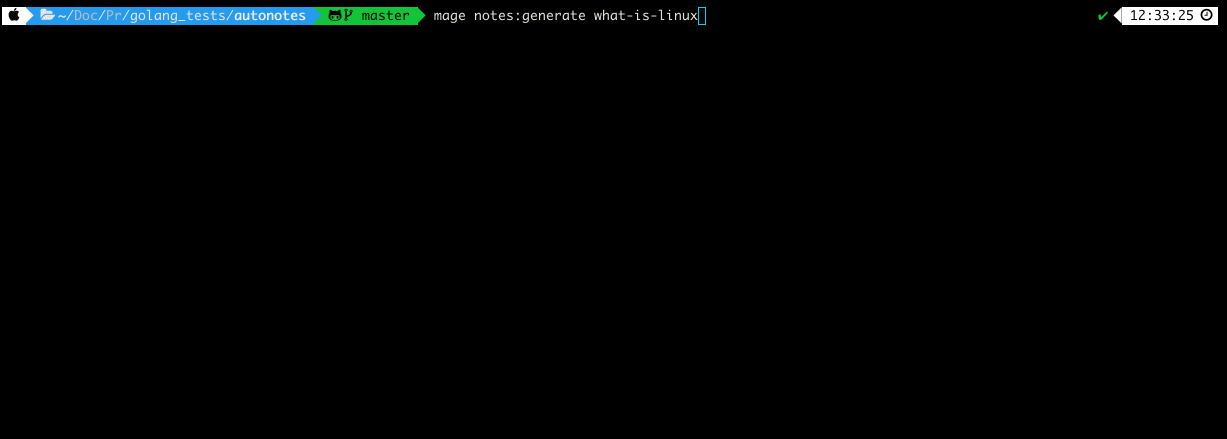
- Generate markdown file with the command
mage notes:generate example-what-is-linuxand the file is save tooutput/example-what-is-linux/example-what-is-linux.md
- Output:

View output markdown file: output file
Setup
git clone https://github.com/marcos10soares/autonotes.git
cd autonotes
go get -d ./...
Usage
For the sake of simplicity, mage was used, there is no need to install it.
If you have mage installed just call mage othewise you can do go run main.go where you see mage being used.
Just in case you want to install it: How to Install mage
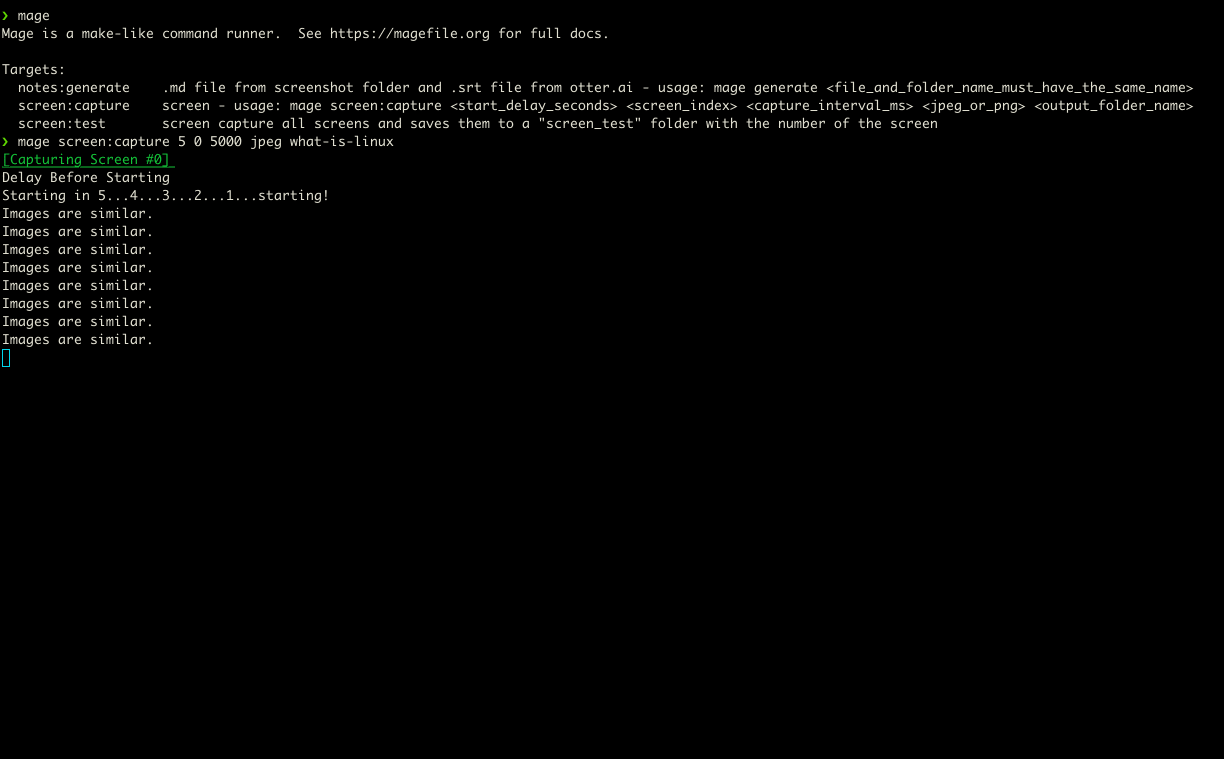
Show list of options if you have mage installed:
mage
otherwise do:
go run main.go
outputs:
❯ mage
Mage is a make-like command runner.  See https://magefile.org for full docs.

Targets:
  notes:generate    .md notes file - usage: mage generate <file_and_folder_name_must_have_the_same_name>
  screen:capture    screen - usage: mage screen:capture <start_delay_seconds> <screen_index> <capture_interval_ms> <jpeg_or_png> <output_folder_name>
  screen:test       screen capture all screens and saves them to a "screen_test" folder with the number of the screen
screen test
Tests screen capture on all screens and outputs the images to "output/screen_test".
Use this to find the index of the screen you want to capture in case you have multiple monitors.
mage screen:test
or
go run main.go screen:test
screen capture
Captures screenshots from a monitor, within an interval (if the image is different - overall works well but your usage may vary), and saves them to a folder with a timestamp on the name.
mage screen:capture <start_delay_seconds> <screen_index> <capture_interval_ms> <jpeg_or_png> <output_folder_name>
example usage:
mage screen:capture 0 0 5000 jpeg my-presentation-notes
generate notes
This assumes that a folder with screenshots was already created (refer to screen capture above).
Both the folder and the .srt file should have the same name, example folder: my-presentation-notes and example .srt file: my-presentation-notes.srt.
mage generate <file_and_folder_name_must_have_the_same_name> <obsidianFormat_true_false>
example usage:
mage generate my-presentation-notes true
TODO
- support txt files
- integrate with google or aws speech-to-text solutions
- output with obsidian image links format
- add name of file as title in md file
- fetch srt from youtube


